

In recent months, it has now been possible to deploy Blazor applications on Azure Static Web App, a much lighter environment than App Services. In this blog complementary to the video recently published on our channel, we look at how to make these deployments via DevOps.
The video
First of all as a reminder, or for those who have not seen it, the video published on the subject:
Creation of the application on the portal
The first thing to do is to create a resource of type Azure Static Web App on the Azure portal. It is this resource that will contain our Blazor application.
For creation, we will need to enter a name, choose our plan and the source of deployment. Regarding the plan, we have the choice between a free plan and a standard. In both cases, the possibility of having an SSL certificate is included, as well as the possibility of adding an API via Azure Functions. The major difference between the two plans in my opinion is at the level of Private Endpoints which are only available on a standard plan. The Private Endpoints allow you to restrict access to our applications so that they are only accessible on a private network.
The last thing to configure for the app is for the deployment source. It is possible to do this via Github, but what interests us is to do it via DevOps, so we have to select Other.

Once our resource has been created, what we need is to go and find the Deployment Token, which is available via the button Manage deployment token in the section Overview of our resource. You can copy this token and keep it for later.
Creation of the DevOps pipeline
For the creation of pipeline, there is a task to easily create our deployment, as seen here:
trigger: - main pool: vmImage: ubuntu-latest steps: - task: AzureStaticWebApp @ 0 inputs: app_location: 'BracketShow.Web' output_location: 'wwwroot' api_location: 'BracketShow.Api' env: azure_static_web_apps_api_token (DeployToken)
Let's see in detail how the task works. the app_location must contain the path to the folder containing our Blazor application relative to the file .yml of our pipeline. the output_location must contain the path of the folder containing the compiled application, but this path must be relative to the contents of app_location. So in this case, it's the folder wwwroot inside of BracketShow.Web. the api_location contains the path to the API project which contains the Azure Functions that can be deployed with our Static Web App. Note that if no project is present for the Azure Functions, that will not prevent the operation of the deployment.
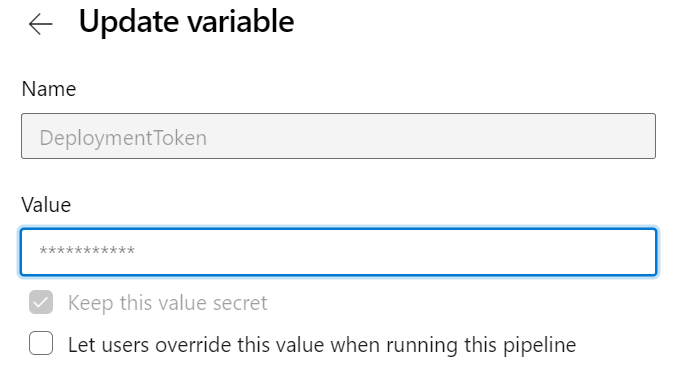
The last element is the azure_static_web_apps_api_token, which will contain the deployment token that we copied earlier in the Azure portal. In this example, I added a variable to hold the token value, which we can configure via DevOps like this:
Conclusion
We have therefore seen that it is rather simple to put in place what is necessary to deploy a Blazor application on Azure Static Web App using DevOps. We first created the resource on the portal. Then we configured our pipeline to deploy as soon as a new commit is pushed on the branch hand.
On your side, have you started to use the Static Web App? If you have any feedback or comments, please leave them here!
Bruno